


How to Connect the Asus ROG Ally to a TV or Gaming Monitor
The ROG Ally, a compelling Steam Deck alternative, launched in 2023, boasting Windows OS compatibility for broader game access. The 2023 ROG Ally X upgrade enhanced internal components and ergonomics with improved cooling.
While its portability is a key feature, connecting to a TV or monitor expands its versatility. Both ROG Ally models support external display connections for big-screen gaming. Below, we detail how to connect your ROG Ally, providing step-by-step instructions and recommendations.
Connecting with an Adapter
Several methods exist, but adapters offer a simple, space-saving solution. Choose from compact dongles, direct cables, or the official ROG Gaming Charger Dock—numerous options are available.
Necessary Equipment
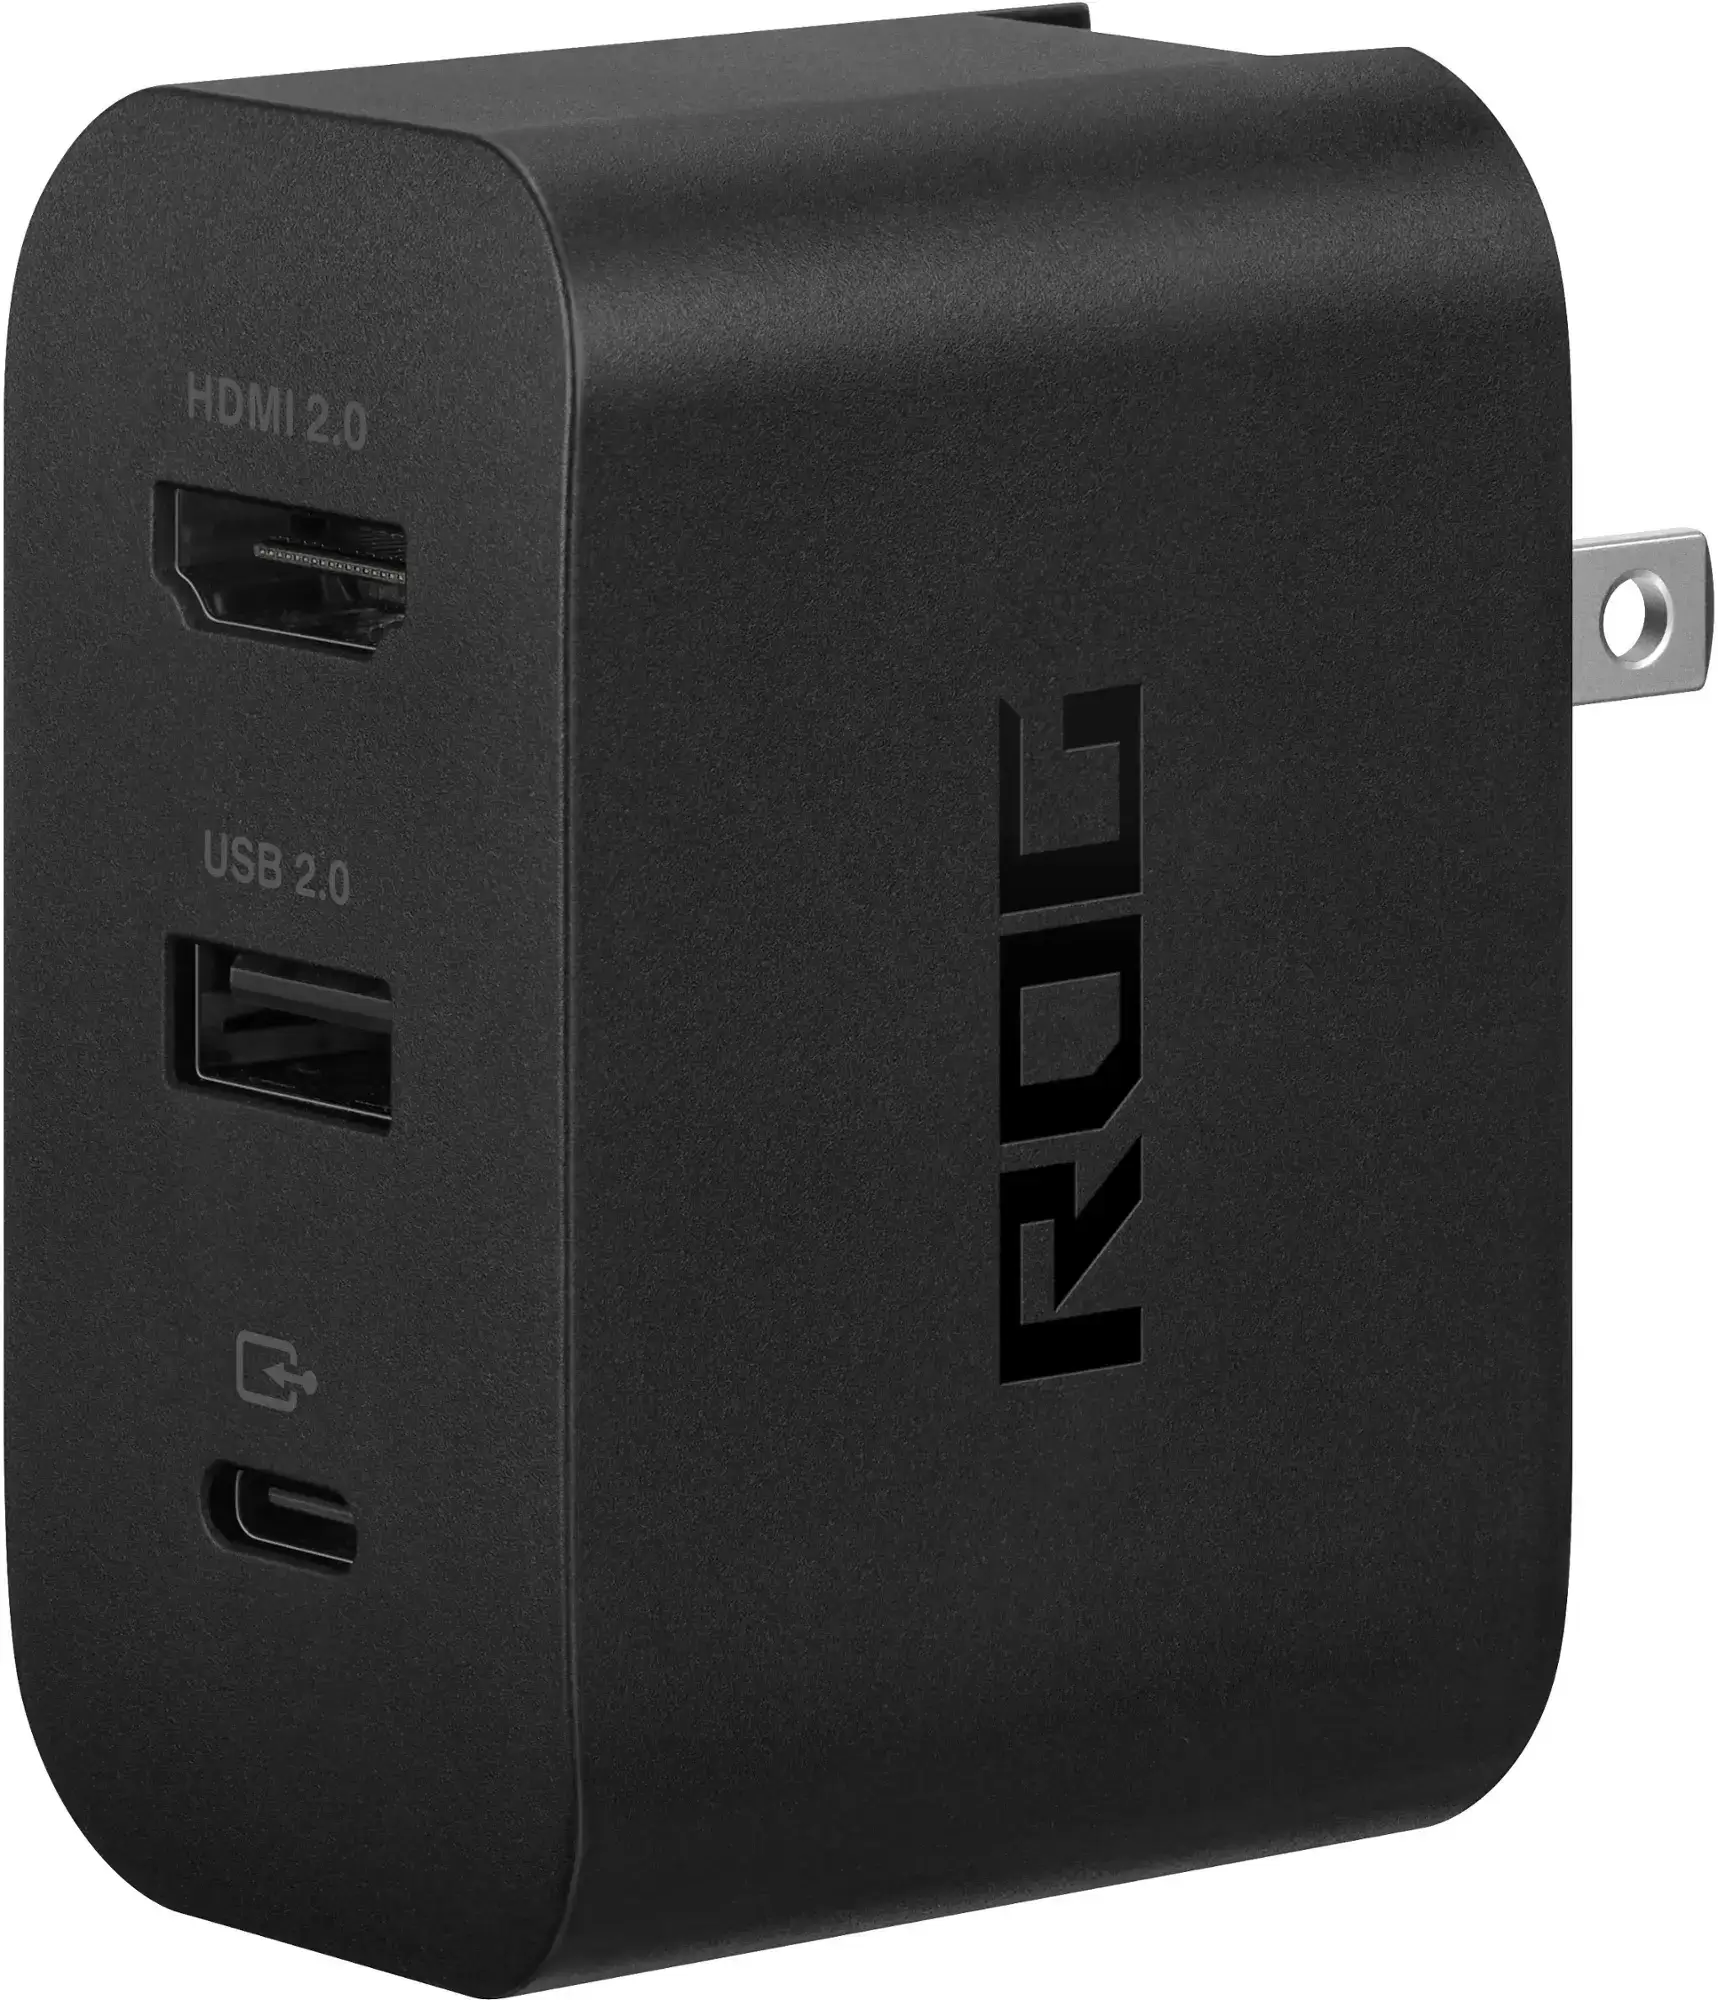 ### ASUS ROG 65W Charger Dock
0Supports HDMI 2.0, USB Type-A, and USB Type-C for seamless ROG Ally connectivity.See it at Best BuyThe official ROG Gaming Charger Dock simplifies the process, acting as both a charger and adapter. A USB-C to HDMI cable is all you need. The dock also includes a USB-A port for mouse/keyboard use.
Third-party USB-C to HDMI adapters connect directly to the ROG Ally's USB-C port. An HDMI cable links the adapter to your TV or monitor. Alternatively, a direct USB-C to HDMI cable eliminates extra steps.
Some adapters offer a passthrough USB-C port for charging while connected to an external display. This requires an additional USB-C cable and power adapter.
Step-by-Step Connection
- Plug a USB-C to HDMI adapter (or cable) into the ROG Ally's top USB-C port. For the ROG Gaming Charger Dock, connect a USB-C cable between the Ally and the dock's USB-C port.
- Connect an HDMI cable from the adapter (or dock) to your TV/monitor's HDMI port. For a direct USB-C to HDMI cable, connect directly to the TV/monitor.
- (Optional) If your adapter has a passthrough USB-C port, connect your power adapter for charging.
- Power on the ROG Ally; video output should be automatic.
- Select the correct HDMI input on your TV or monitor.
Connecting with a Docking Station
For a Nintendo Switch-like setup, consider a docking station. While no official ROG Ally dock exists (besides the ROG Gaming Charger Dock), many third-party options are available. These provide a stand and charging capabilities.
Necessary Equipment
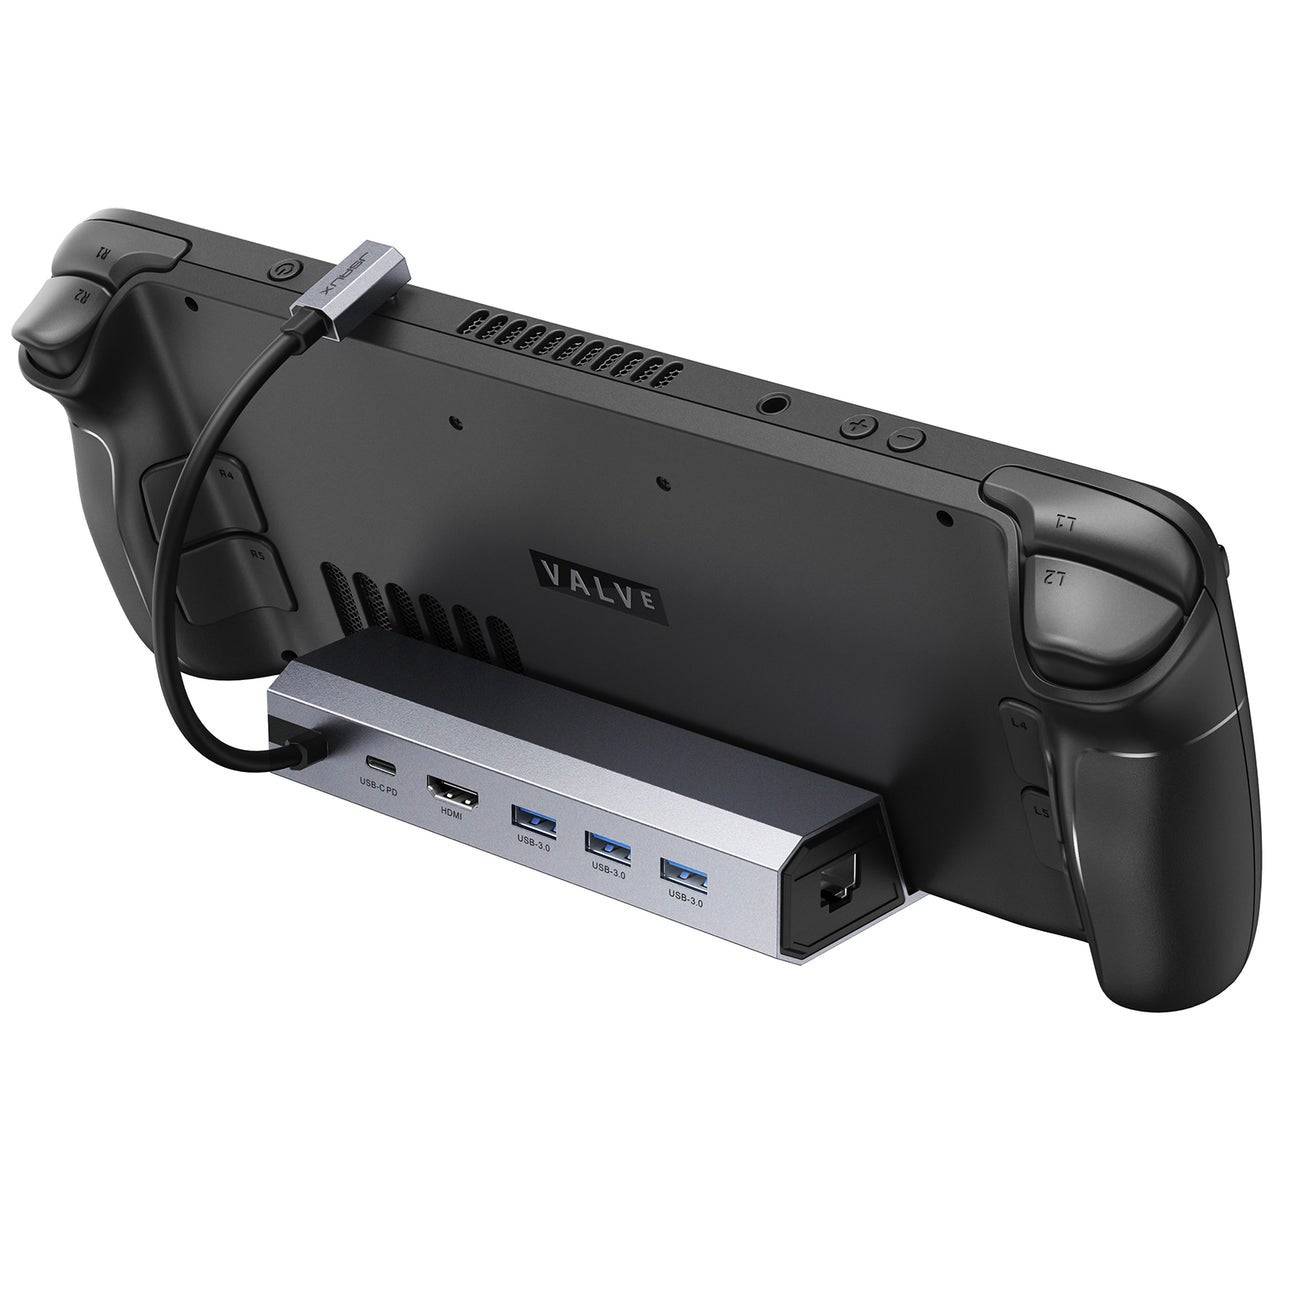 Our Top Pick### JSAUX Docking Station HB0603
2100 watts of power for fast charging and multiple ports. This lightweight, compact dock also functions as a stand.See it at AmazonBasic docks offer HDMI and USB-C passthrough charging. More advanced docks include extra USB ports, Ethernet, SD card slots, and even DisplayPort for multiple displays. Smaller, portable docks are ideal for travel. Many Steam Deck docks are also compatible.
Step-by-Step Connection
- Place the ROG Ally in the dock.
- Connect the USB-C power cord to the Ally's top USB-C port.
- Connect the power adapter to the dock's USB-C charging port.
- Connect an HDMI cable from the dock to your TV/monitor's HDMI port.
- Power on the ROG Ally; video output should be automatic.
- Select the correct HDMI input on your TV or monitor.
Controller Recommendation
While mouse and keyboard are options, a wireless controller offers a more comfortable big-screen experience. The ROG Ally supports Bluetooth controllers. The following controllers, compatible with the Steam Deck, also work with the ROG Ally:
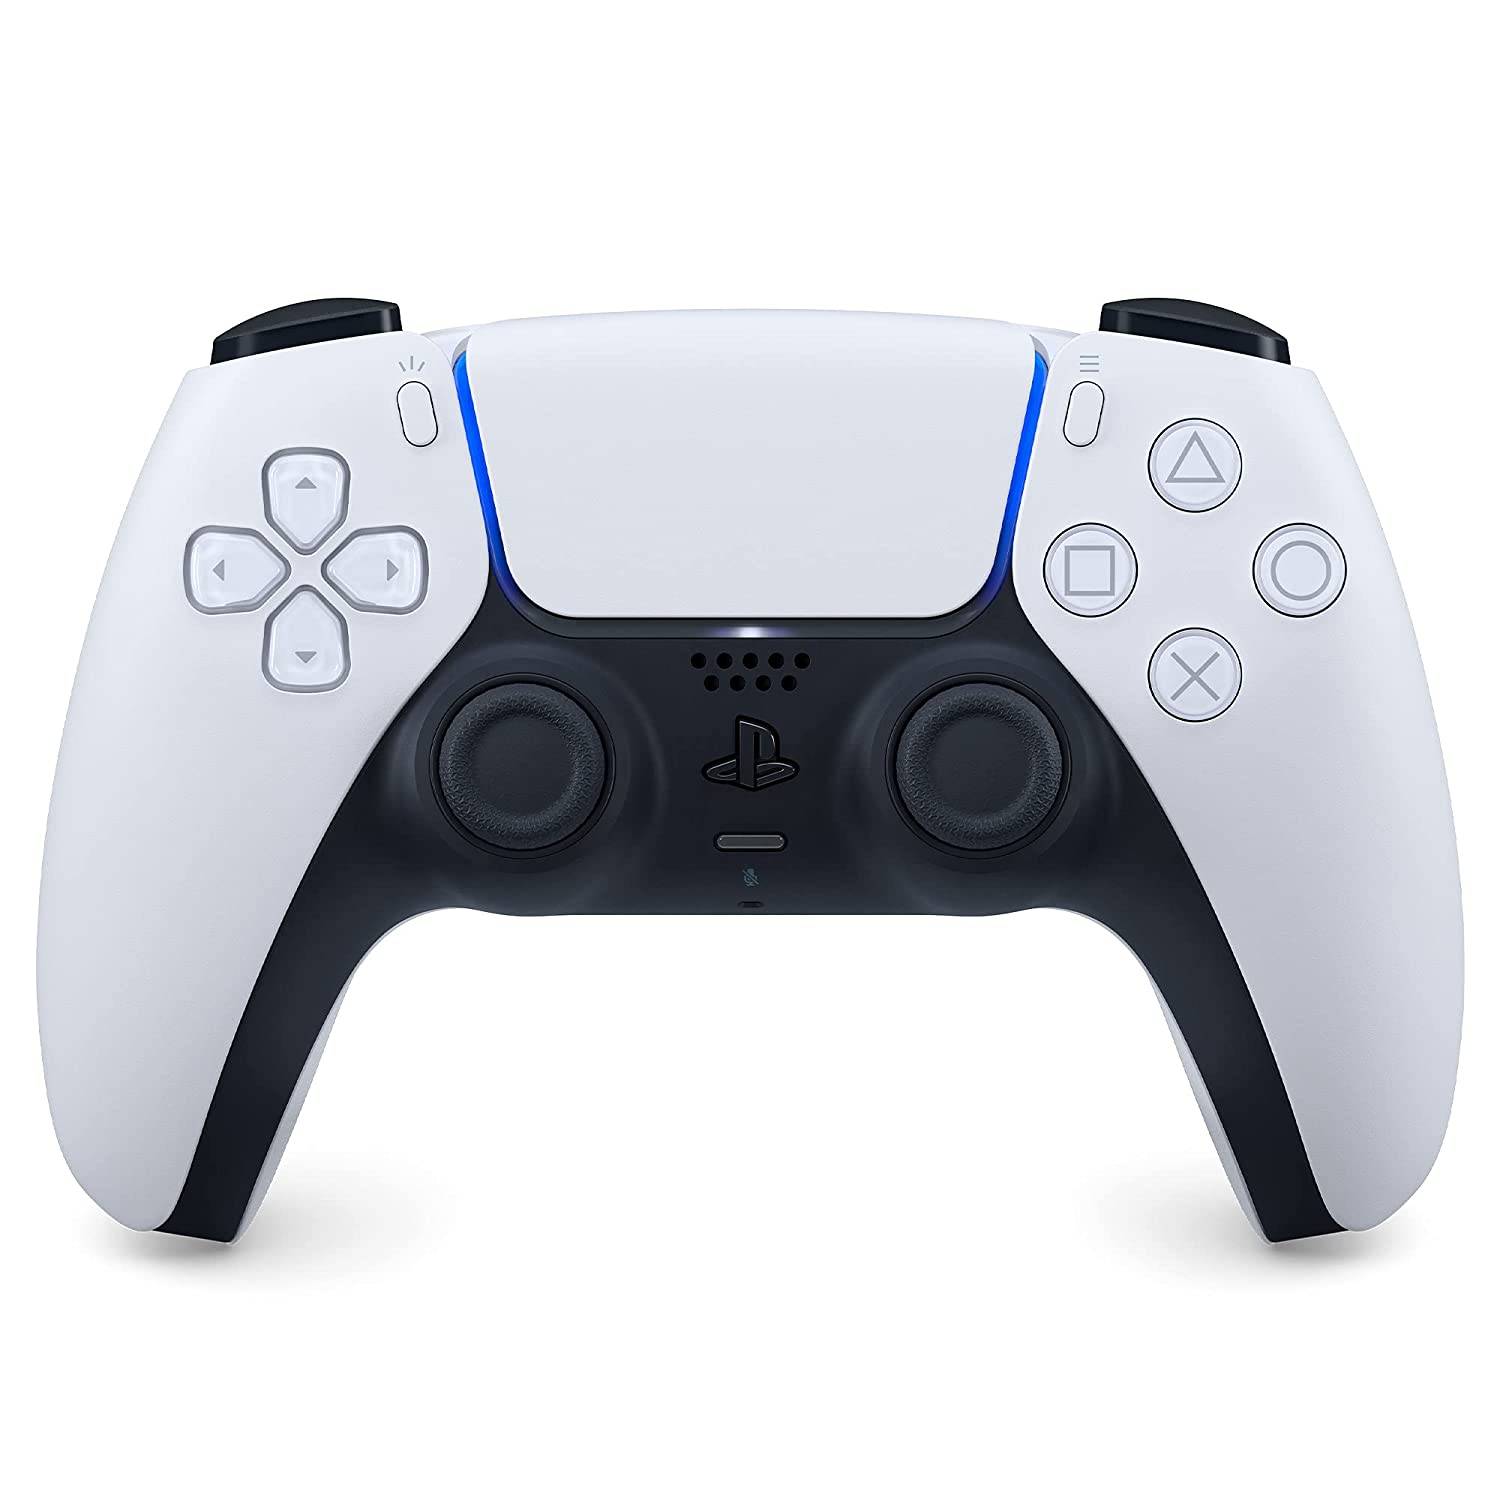 Our Top Pick### Sony DualSense
1See it at AmazonSee it at Best BuySee it at Target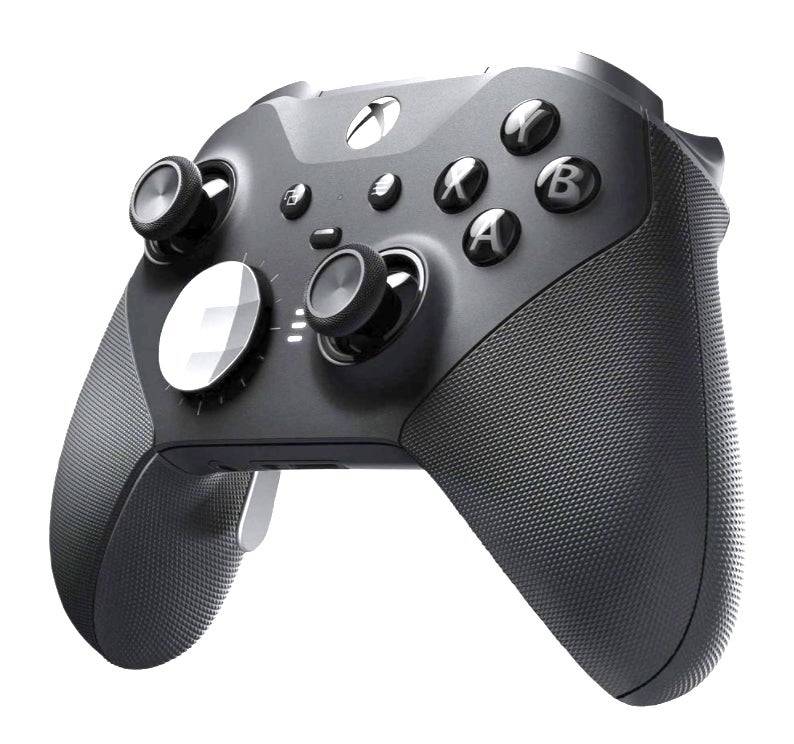 ### Xbox Elite Series 2 Controller
4See it at AmazonSee it at Best Buy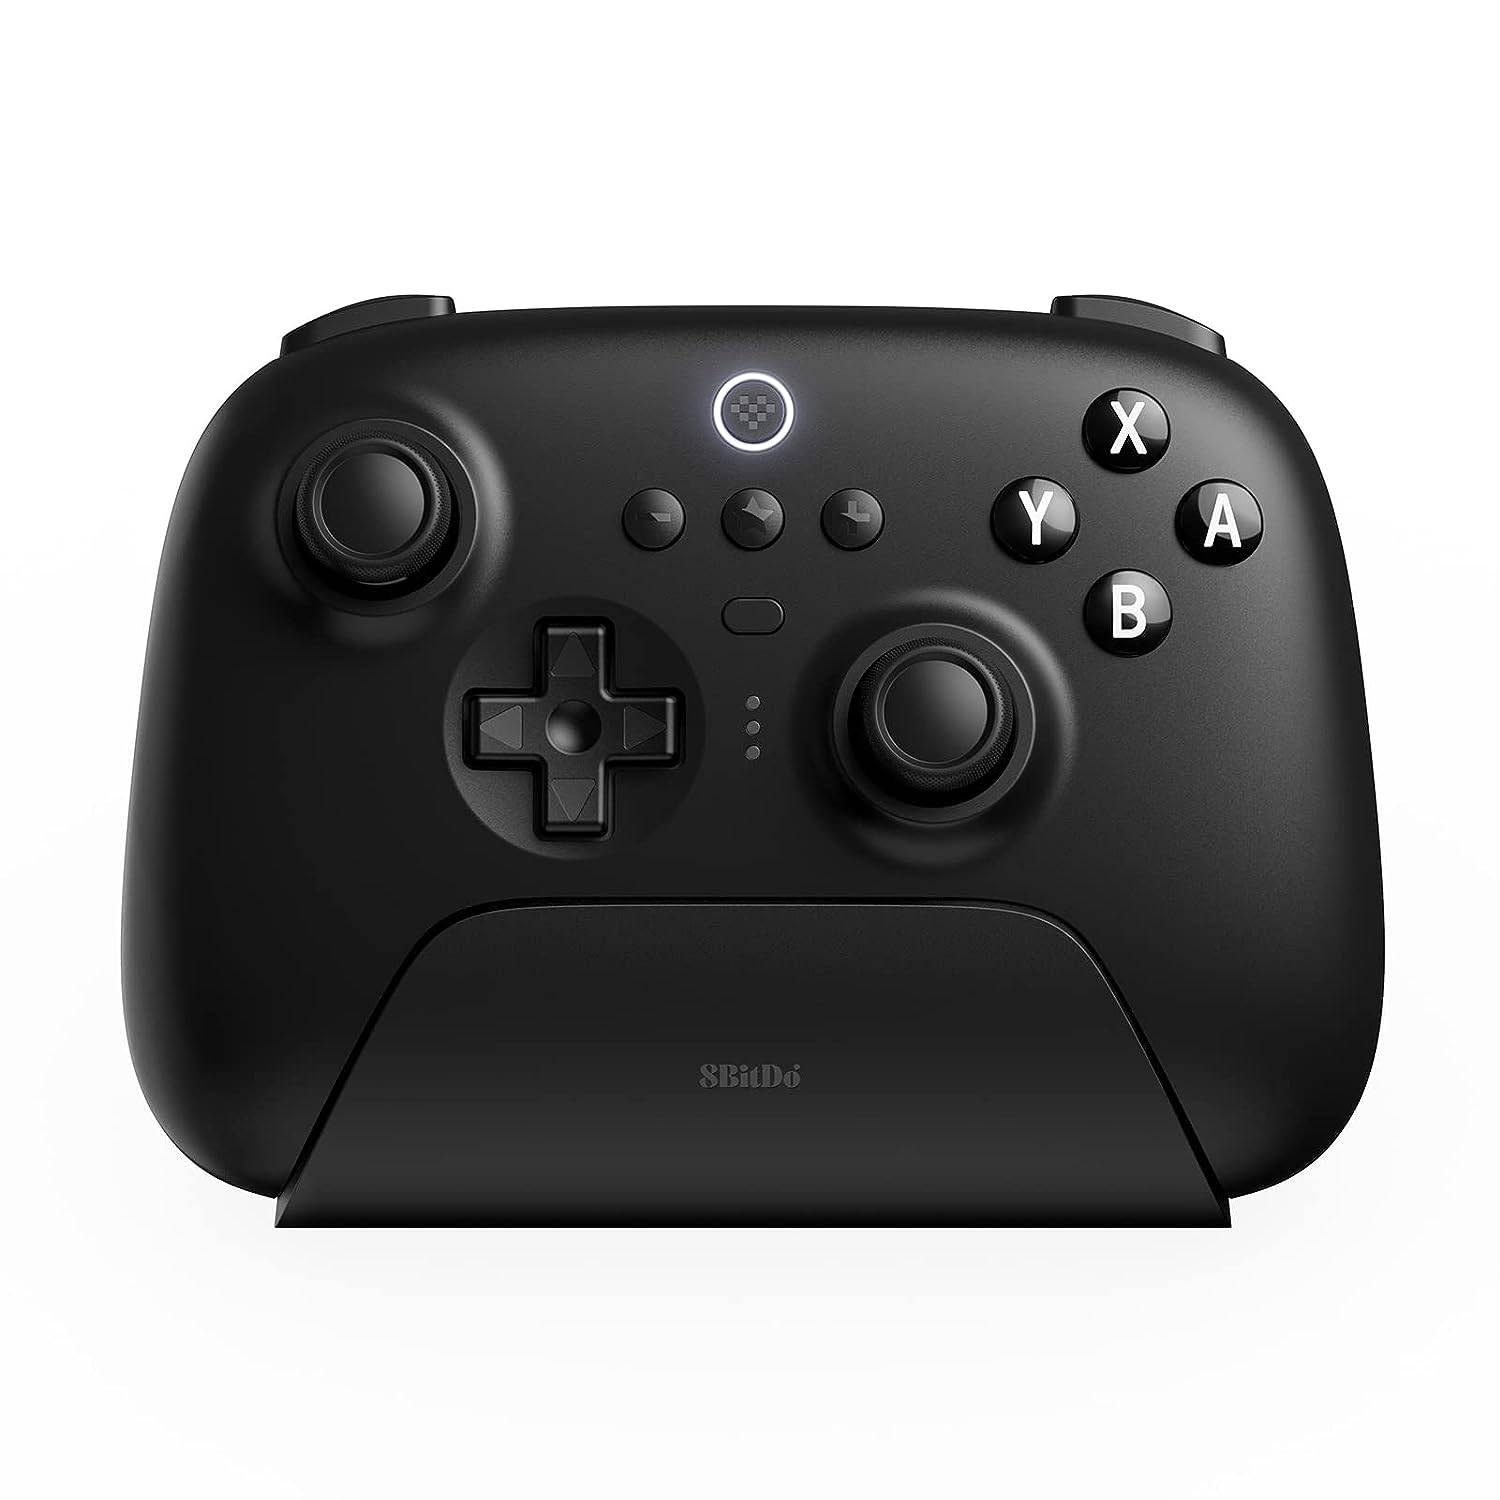 ### 8BitDo Ultimate Controller
0See it at Amazon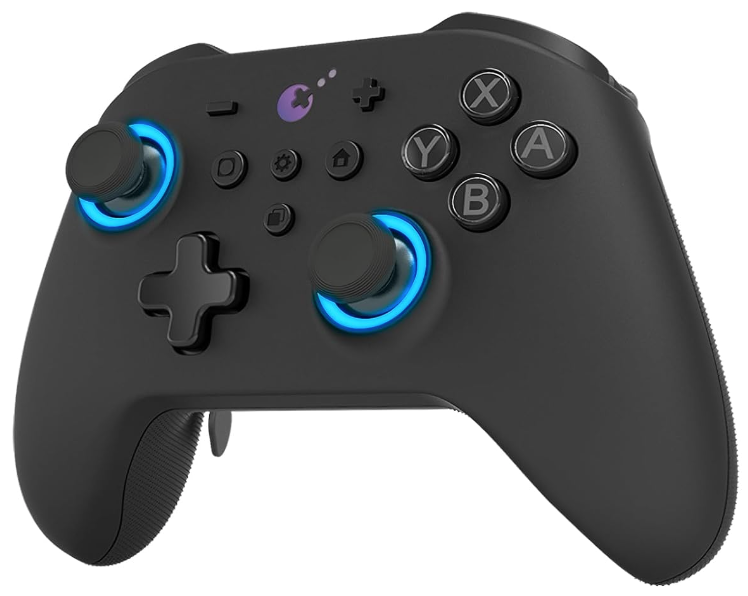 ### GuliKit KingKong 3 Max Controller
1See it at Amazon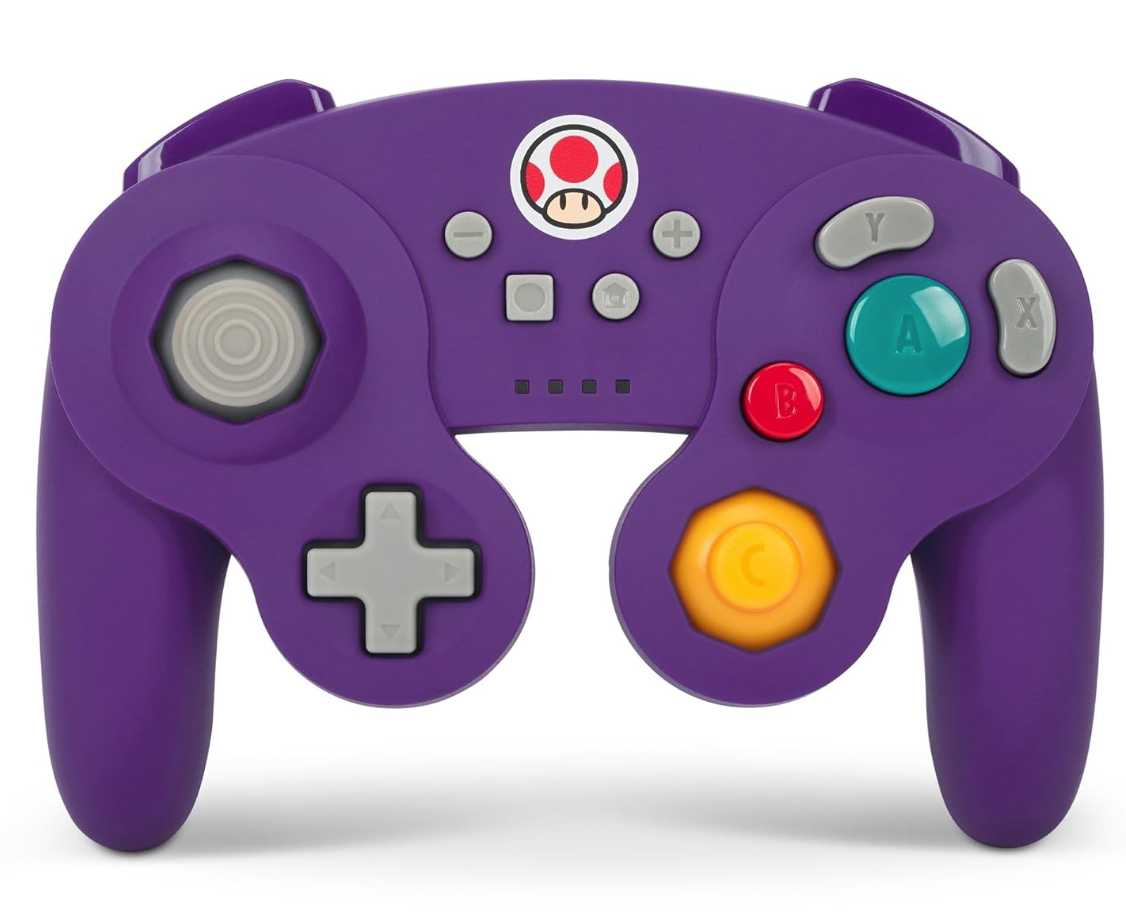 ### PowerA Wireless GameCube Style Controller
2See it at AmazonConsider options like the DualSense, Xbox Wireless Controller, or Nintendo Switch Pro Controller, as well as various third-party controllers. 2.4GHz wireless controllers often provide lower latency and better range than Bluetooth. Wired USB controllers are also a viable option for close proximity.
-
 Feb 08,25GTA 5: Guide to Acquiring Formal Attire In Grand Theft Auto 5, after assisting with the Jay Norris assassination, players must change into a smart outfit before proceeding with Lester's next mission – a reconnaissance job at a high-end jewelry store. This guide explains how to acquire appropriate attire. Utilizing Michael's Existing Ward
 -
May 27,25Chimera Clan Boss Guide: Top Builds, Masteries & Gear for RAID: Shadow Legends RAID: Shadow Legends continues to push the envelope with its updates, and the Chimera Clan Boss stands out as the pinnacle of PvE challenges. Unlike the straightforward, power-centric battles of traditional Clan Bosses, Chimera demands adaptability, precise turn management, and an understanding of i
-
 May 23,25"2025 Laptop Buying Guide: Best Times for Deals" Laptops are a significant investment, but you can ease the financial burden by timing your purchase to coincide with the best deals. While new models are constantly hitting the market, certain times of the year offer more affordable options, even for the latest models in 2025. With President's Day s
 -
 Mar 28,25Basketball: Zero Codes Released in March 2025 Last updated on March 26, 2025 - Checked for new Basketball: Zero codes!Ready to take your skills to the next level in Basketball: Zero on Roblox? We've got you covered with the latest working codes for March 2025. Use these to score Lucky Spins and cash, boosting your chances of dominating the cour