


How To Enable SSH On The Steam Deck
Feb 19,25
This guide explains how to enable and use SSH on your Steam Deck for remote access to its files. The Steam Deck's desktop mode allows for functionalities beyond gaming, making remote file access a valuable feature.
Enabling SSH on the Steam Deck
 Follow these steps to enable SSH:
- Power on your Steam Deck.
- Access the Steam menu, navigate to
Settings > System > System Settings, and enable Developer Mode. - Return to the Steam menu and select
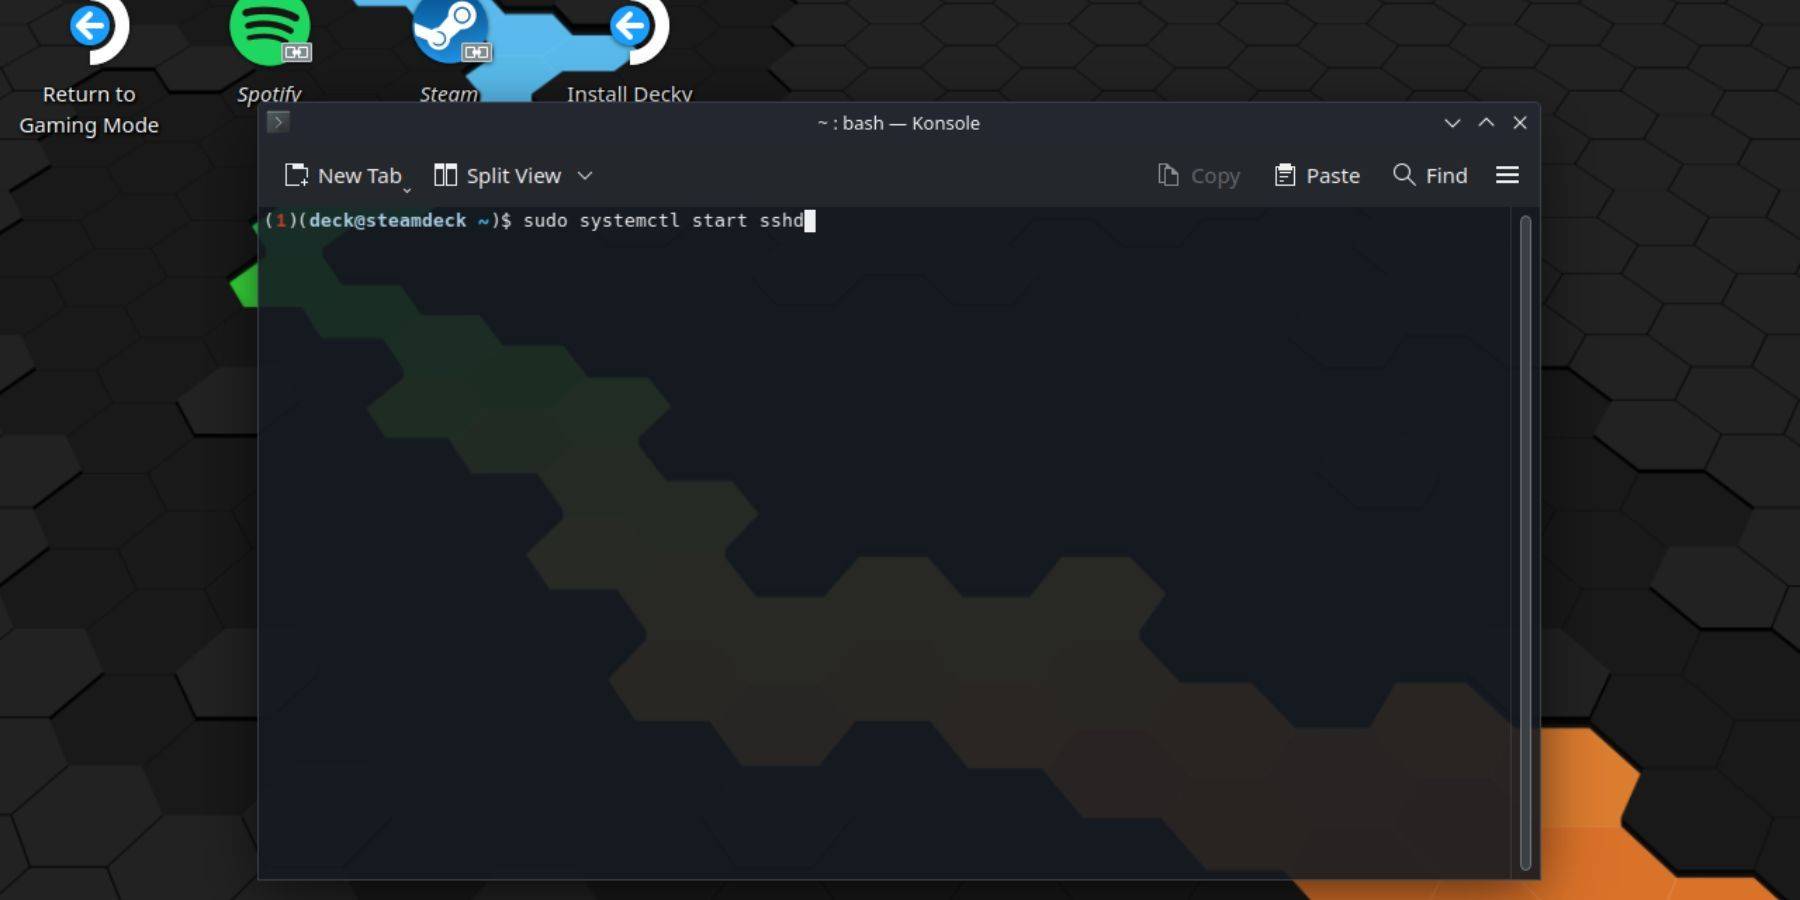
Power > Switch to Desktop Mode. - Open Konsole from the Start menu.
- Set a password (if not already set) using the command:
passwd. - Enable SSH using the command:
sudo systemctl start sshd. To ensure SSH starts automatically after a reboot, use:sudo systemctl enable sshd. - You can now access your Steam Deck remotely using a third-party SSH client.
Caution: Avoid modifying or deleting system files to prevent OS corruption.
Disabling SSH on the Steam Deck
To disable SSH:
- Open Konsole from the Start menu.
- Use
sudo systemctl disable sshdto prevent SSH from starting automatically on reboot, orsudo systemctl stop sshdto immediately stop the SSH service.
Connecting to the Steam Deck via SSH
 After enabling SSH, use a third-party application like Warpinator for easy file transfer. Install Warpinator on both your Steam Deck and your PC, then launch it on both devices for seamless file sharing.
Alternatively, if using a Linux PC, you can directly connect via your file manager. Enter sftp://deck@steamdeck in the address bar and provide the password you set earlier.

Top News
-
 Feb 08,25GTA 5: Guide to Acquiring Formal Attire In Grand Theft Auto 5, after assisting with the Jay Norris assassination, players must change into a smart outfit before proceeding with Lester's next mission – a reconnaissance job at a high-end jewelry store. This guide explains how to acquire appropriate attire. Utilizing Michael's Existing Ward
 -
May 27,25Chimera Clan Boss Guide: Top Builds, Masteries & Gear for RAID: Shadow Legends RAID: Shadow Legends continues to push the envelope with its updates, and the Chimera Clan Boss stands out as the pinnacle of PvE challenges. Unlike the straightforward, power-centric battles of traditional Clan Bosses, Chimera demands adaptability, precise turn management, and an understanding of i
-
 May 23,25"2025 Laptop Buying Guide: Best Times for Deals" Laptops are a significant investment, but you can ease the financial burden by timing your purchase to coincide with the best deals. While new models are constantly hitting the market, certain times of the year offer more affordable options, even for the latest models in 2025. With President's Day s
 -
 Feb 02,25Pokemon GO Fest 2025: Dates, Locations, and Event Details Get ready for Pokémon GO Fest 2025! Niantic has announced the dates and locations for this year's in-person events earlier than usual, allowing ample time for planning. Pokémon GO Fest 2025 Dates and Locations: Niantic has confirmed three locations for GO Fest 2025, all in June: Osaka, Japan: May